- General Overview of Manual
- In The Beginning...
- Menu Overview
- Managing Data
- Plotting Composites
This manual is divided into four main sections. These are:
In the Beginning is a simple introduction to CompositeMaker and how to use this manual. If it is your first time using CompositeMaker or reading the manual it is advised that you read this section.
The Menu Overview describes all the features contained in the menu bars. In order to use many of the advanced functions available via the menus you must thoroughly read this section. A typical user will normally use the only the basic CompositeMaker menus.
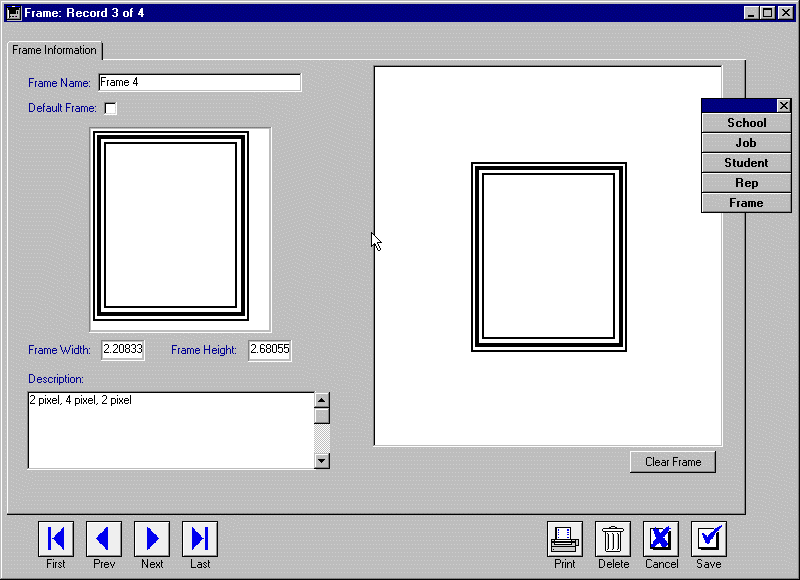
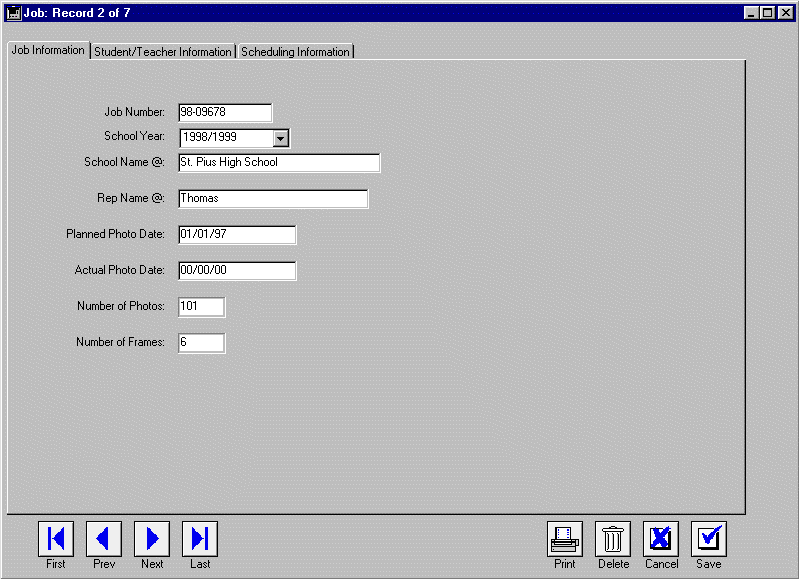
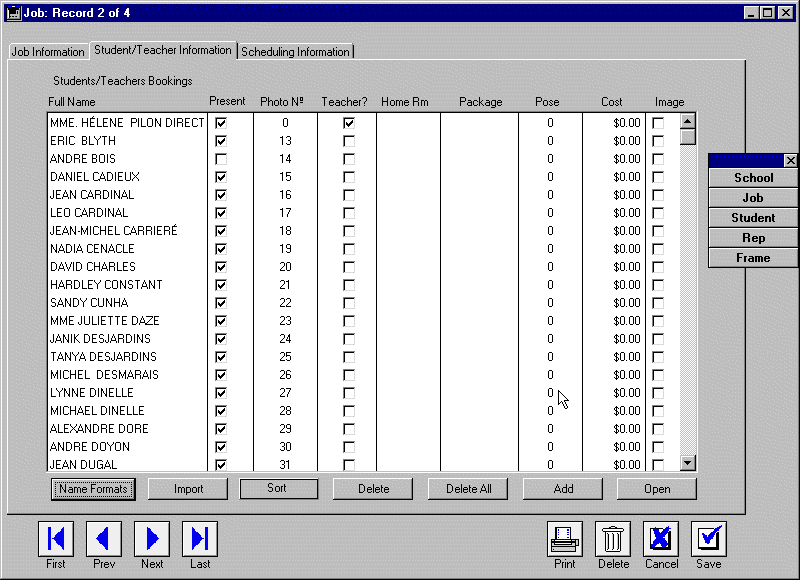
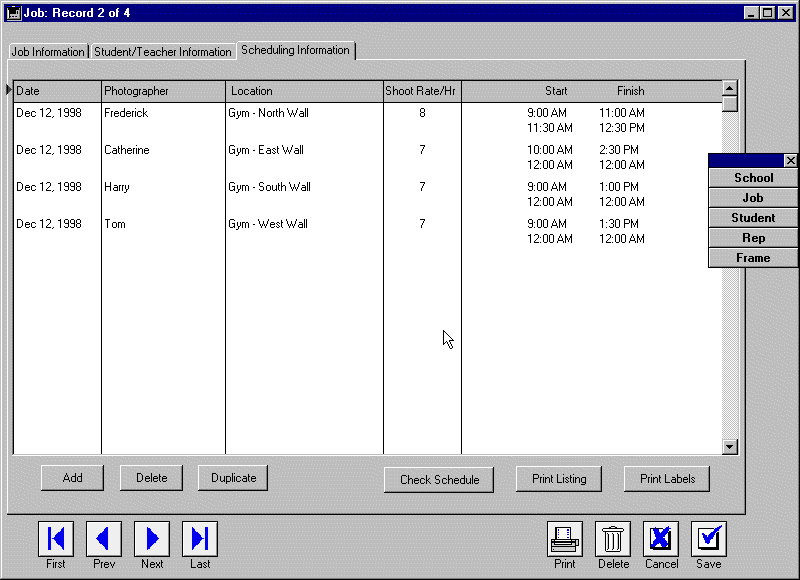
Data in CompositeMaker is organized into 5 major areas: Students, Schools, Reps, Frames and Jobs. In this manual you will learn how to Add, Sort, Find, and Edit all these data types and create, schedule and plot jobs in composite format.
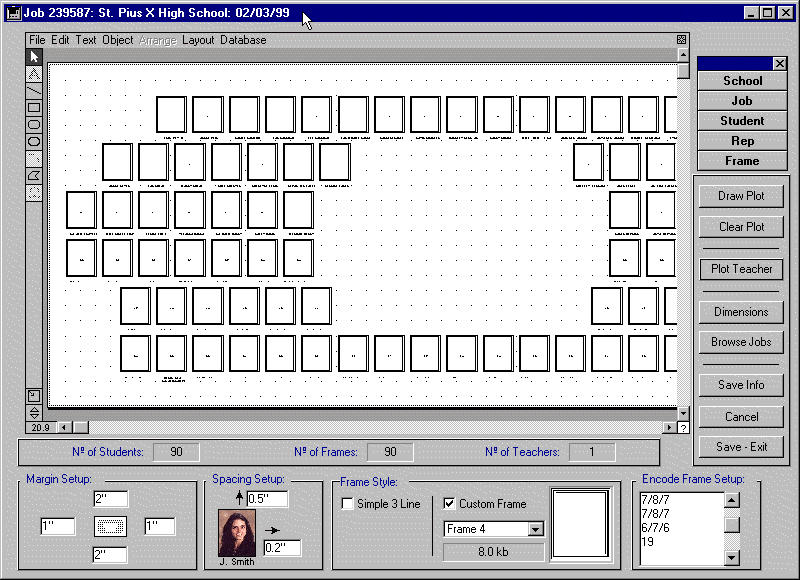
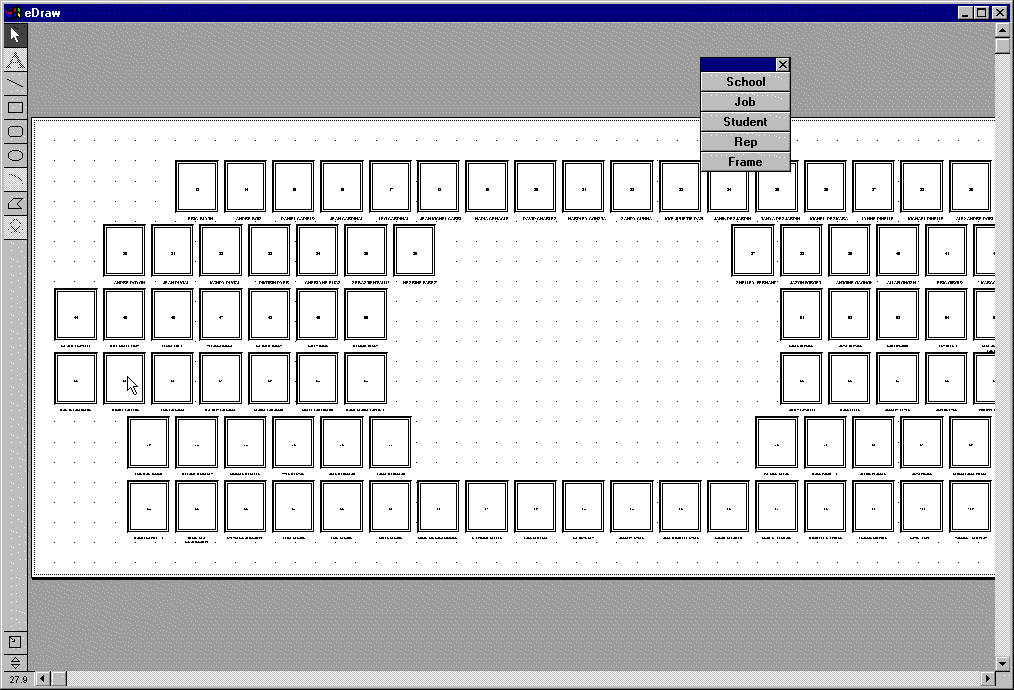
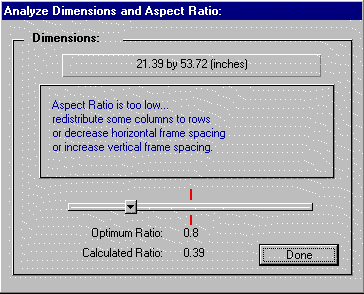
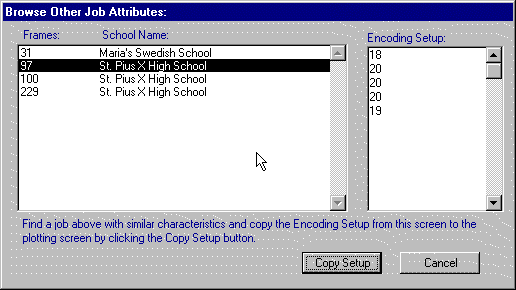
The plotting section will explore all aspects of preparing a Job for composite plotting. Frame choice and encoding will be described, along with examination of the Plot Area screen.
- File
- Preferences
- Administration
- Get Info
- Import
- Export
- Quit
- Enter
- New Record
- Apply Formula
- Delete Subset
- Select
- Show All
- Show Subset
- Omit Subset
- Quick Find
- Query Editor
- Label Editor
- Query by Layout
- Query by Formula
- Quick Sort
- Sort Editor
- Tools
- Special Functions
- Navigation Palette
- Windows
- Help
- Help
- Search for Help On...
- How to use Help...
- About CompositeMaker...
To view the system preferences click on the File menu, and choose the Preferences item. Record Adding, Navigation Palette and Tool Bar options are available for setting. You also may set your company name as it will appear on the CompositeMaker printouts.
Options to customize screen headers and other attributes can be set in this dialog.
The CompositeMaker version number and data file name are displayed in this dialog. It appears for approximately 10 seconds.
A simple data import tool lets you quickly add records to CompositeMaker. Beware, if you are unsure of the use of this function, then create a backup of the CompositeMaker data file (.4dd) before performing any Import operations.
A simple data export tool lets you quickly export records out of CompositeMaker. These files can then be opened with other applications such as spreadsheets and word processors.
Listings and other reports can be printed from various parts of CompositeMaker. The Print item displays a list of available printouts for the various data types in CompositeMaker.
Use this item to quit CompositeMaker.
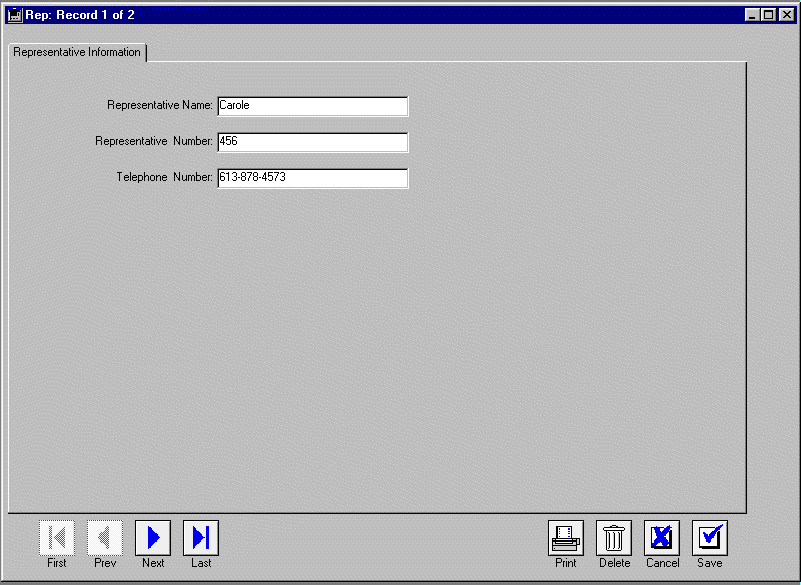
Choose this menu item when you wish to add a new record to the list of displayed data. This will display a data entry screen that must be filled and then saved using the Save button. The New Record menu item performs the same function as the New button on the list screen.
This option allows you to make mass data changes to the selected data in the list you are viewing. This is not recommended, and should only be used by an experienced user. Please contact Nufocus if you are contemplating making mass data changes.
This option allows you to select several rows from the displayed list and delete them at once. This is the same as the Delete button at the bottom of the list screens. Note that deletions can not be recovered unless you restore a backup of a previous data file. (CM.4dd)
When viewing data in a particular module, you may wish to force the display of all the data in that module. Choose Select... Show All or click on the All button to display all the data.
You may wish to force the display of only a subset of the data in that module. On Windows, to select rows from a list use the Control-click and Shift-click method to select only those rows you desire. On Macintosh use Command-click and Shift-click. Then choose Select... Show Subset to limit the list to only those selected by your mouse selections.
Similarly, you may wish to force the display of only a subset of the data in that module, but if the data set you wish to display should not include certain records, you can remove those records from the list by using Omit Subset. On Windows, to select rows for omission from a list use the Control-click and Shift-click method to select only those rows you desire. On Macintosh use Command-click and Shift-click. Then choose Select... Omit Subset to limit the list to only those not selected by your mouse selections. Note that this does not delete these records from CompositeMaker. It only temporarily removes them from the displayed listing.
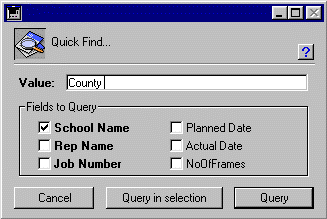
The Quick Find Tool provides you with a simple searching tool to find records in CompositeMaker from various data types. This Tool is described in the individual modules sections.
The Query Editor Tool provides you with a more complex searching tool to find records in CompositeMaker from various data types. It is recommended that you familiarize yourself with the Quick Find Tool described above for most searching purposes. The Query Editor should only be required for complex searches only.
Labels can be created in CompositeMaker from any type of data and from any listing. Label formats can be customized and saved from within the Label Editor Screen.
Searches of data in CompositeMaker can be performed using the Query By Layout Tool. This tool allows you to enter your search criteria in the data entry screen, and then list all those records that fit the entered search criteria. It is recommended that you use the Quick Find Tool before resorting to the use of the Query By Layout Tool.
Searches of data in CompositeMaker can be performed using the Query By Formula Tool. This tool allows you to define query criteria that are mathematical functions of other data in CompositeMaker. It is recommended that you use the Quick Find Tool before resorting to the use of the Query By Formula Tool.
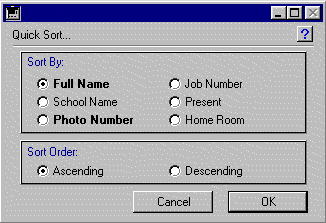
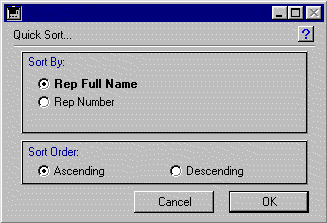
The Quick Sort Tool provides you with a simple sorting tool to sort data in CompositeMaker. This Tool is described in the individual modules sections.
The Sort Editor provides you with a slightly more complex sorting tool to sort data in CompositeMaker.
Certain special functions in CompositeMaker will be found in the Tools... Special Functions menu item.
The Navigation Palette is the primary tool used to control the display of data from the various modules of CompositeMaker. This Palette can be placed wherever you want it on the screen and will launch lists of data when you click on the buttons for each data type. If a listing or entry screen for a particular data type is already open on the screen, it will be brought to the front of the screen by clicking on the Palette.

If the Navigation Palette disappears, go to the Tools menu and choose Navigation Palette to restore it to the screen.
The Windows Menu can be used to bring individual windows into view when several windows are open simultaneously on the screen.
The CompositeMaker Help system does not use the standard Windows Help menu. These menu items will not display CompositeMaker Help items. Please refer to the Help items on the CompositeMaker screens or this manual.
Not used by CompositeMaker. Please refer to this document for help.
Not used by CompositeMaker. Please refer to this document for help.
Not used by CompositeMaker. Please refer to this document for help.
Valuable system and software version and license information is available under this Menu item.
- Students
- Locate the Navigation Palette. (Tools... File Palette)
- Displayed on the File Palette are 5 buttons.
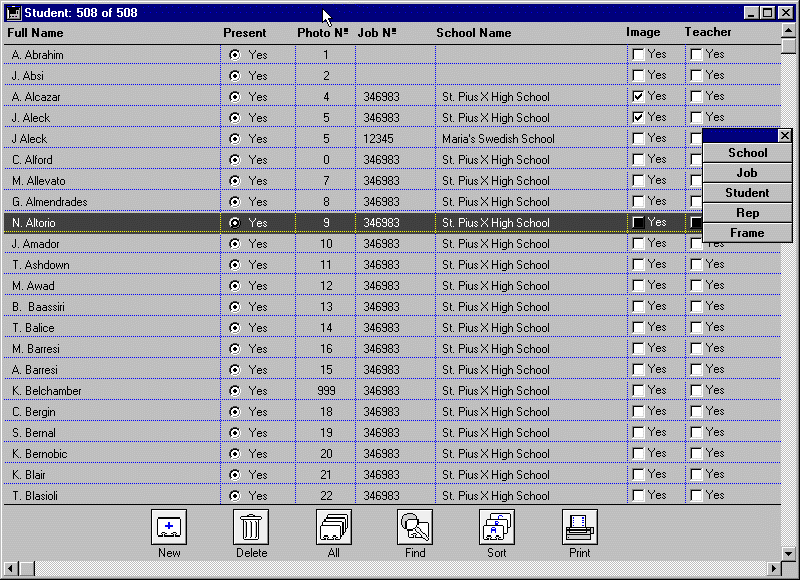
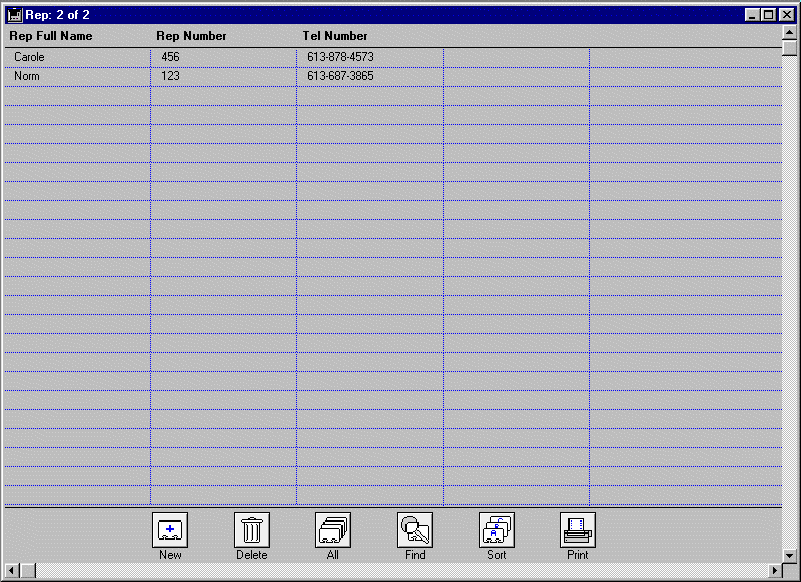
- Click on the button called Student. This will display a screen similar to the figure below. This list is sorted by Student last name by default.
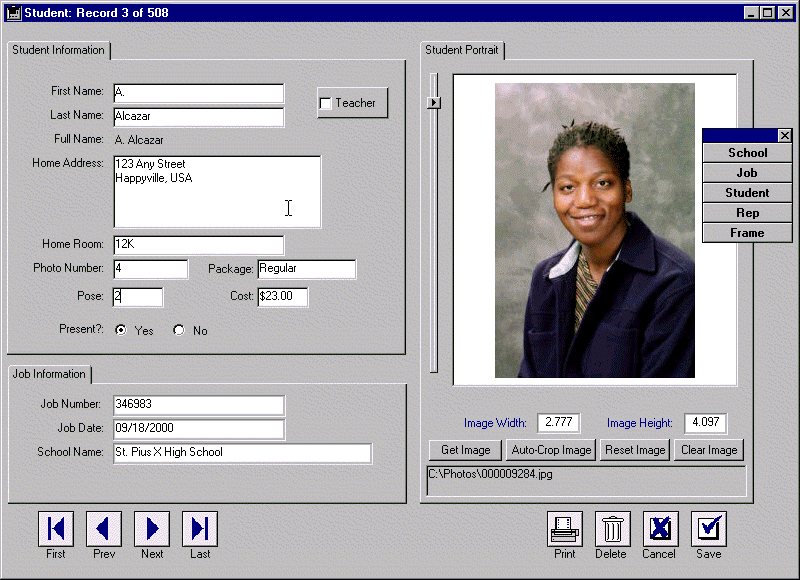
CompositeMaker needs to maintain the names and other information of the Students that are to be photographed. You will discover that the Student list will be the longest list of data in CompositeMaker, and it is likely that from time-to-time you will need to edit student names and other information.
